Being a blogger means, by default, you become a bit obsessed with imagery. Â Even before blogging I did my own little ‘365 photographs’ challenges on Flickr and was forever playing around with my camera (if you really fancy a giggle, check out these), and it’s just always been a ‘thing’ of mine since I used to take my camera into school to take photos of everyone on the last day lol.
I’d like to think I’ve improved a little since then 🙂
Since I’m behind the camera myself more these days and a couple of people have asked me about my pics, I thought I’d share a few notes on how I shoot and edit my photos at the minute, plus my current Instagram editing style.  I say current style, because I change it pretty regularly based on whatever’s going on in my life at the time – commitment issues and first world problems hey!  But yeah, my photos now are very different to over summer, and may well be different again in a months time. Or a week. Or a day. Some things I like to keep consistent though.
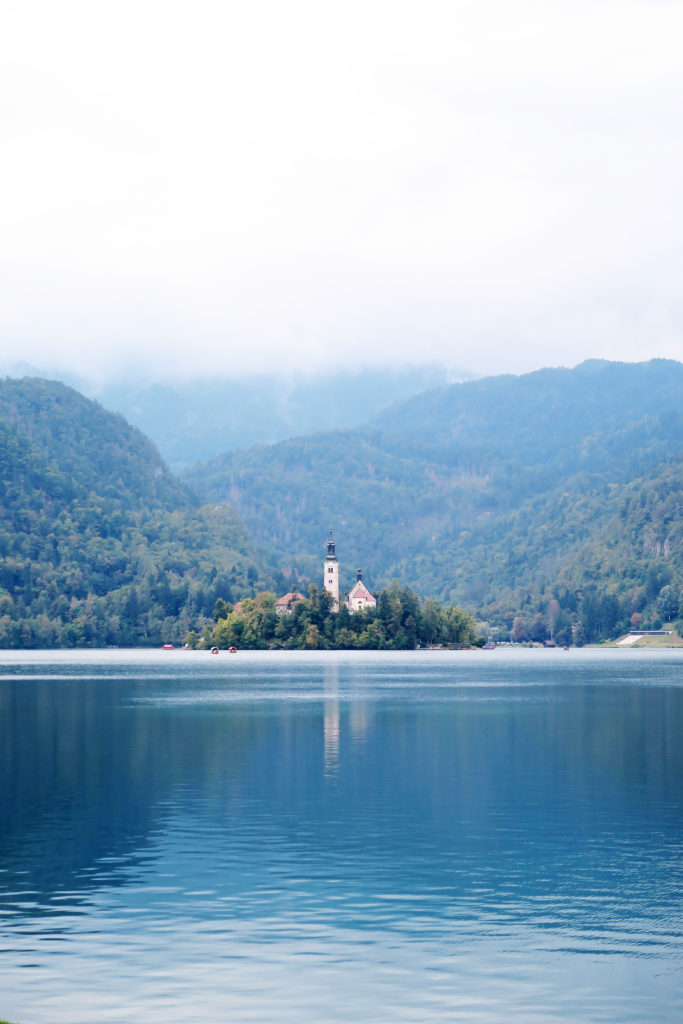
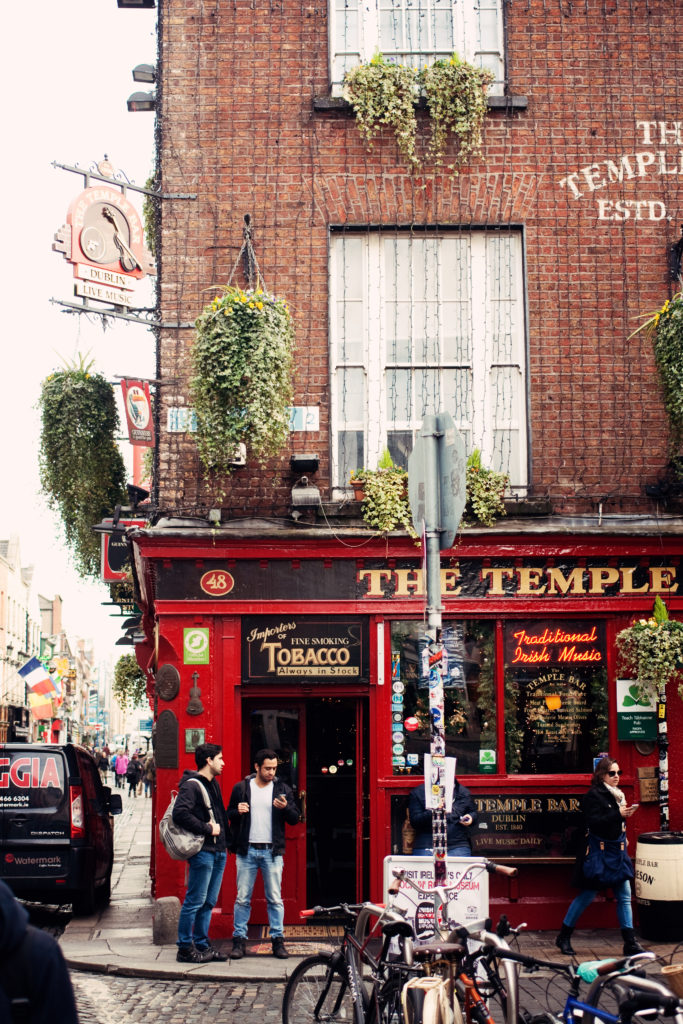
Horizontal/vertical lines must be perfectly horizontal/vertical
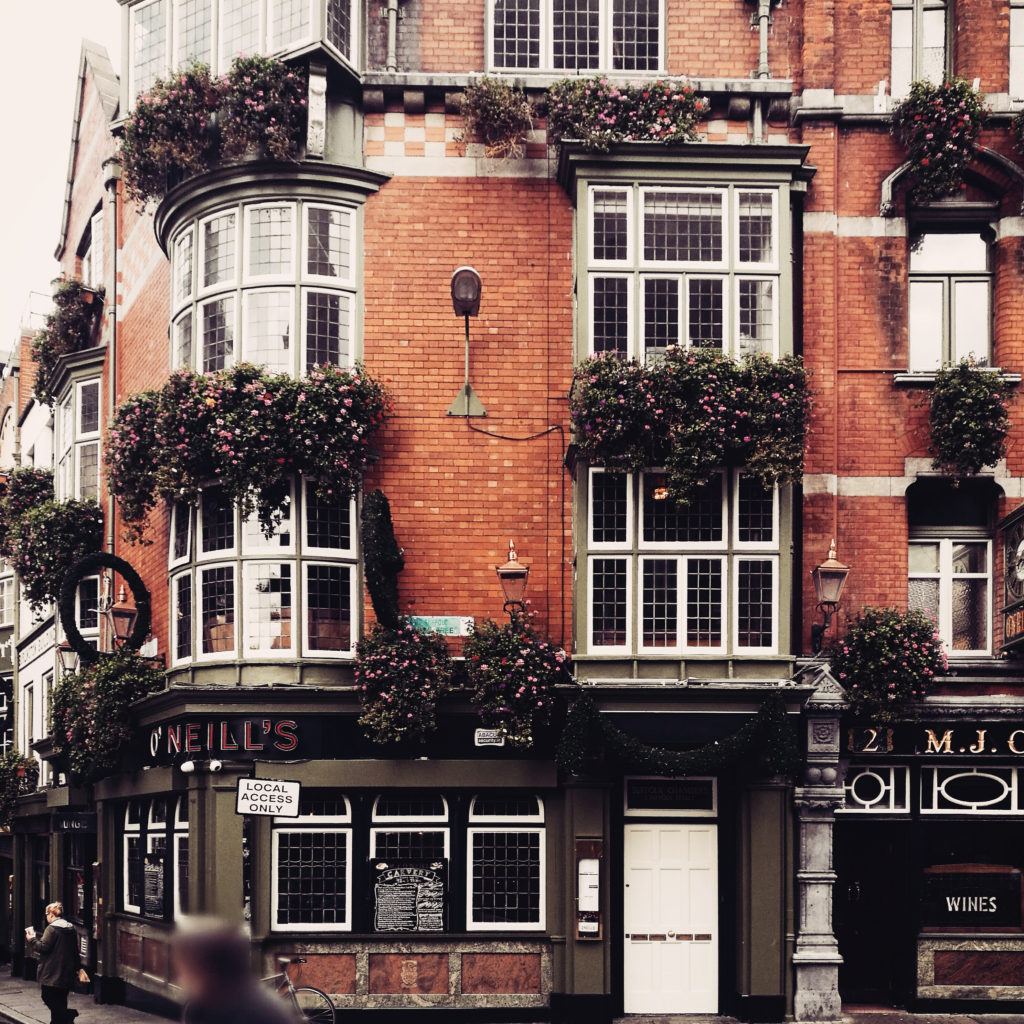
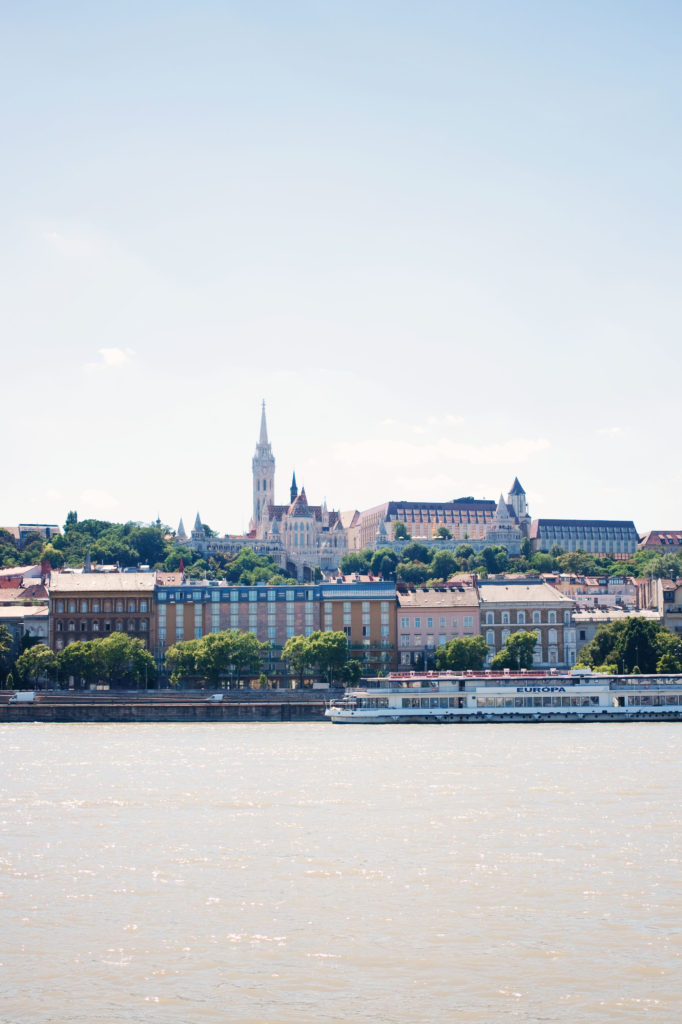
If a photo features a horizontal or vertical-ish line, then I’m SUPER picky about making sure it’s perfectly horizontal or vertical. It’s one of those things I’ve become anal about and notice in everyone’s photos haha – let’s just say the straighten tool gets a lot of use!  It’s one of those differences that you can’t put your finger on at first, but it just improves a photo tenfold, IMO.  Photos at deliberately jaunty angles are a different story though. 🙂
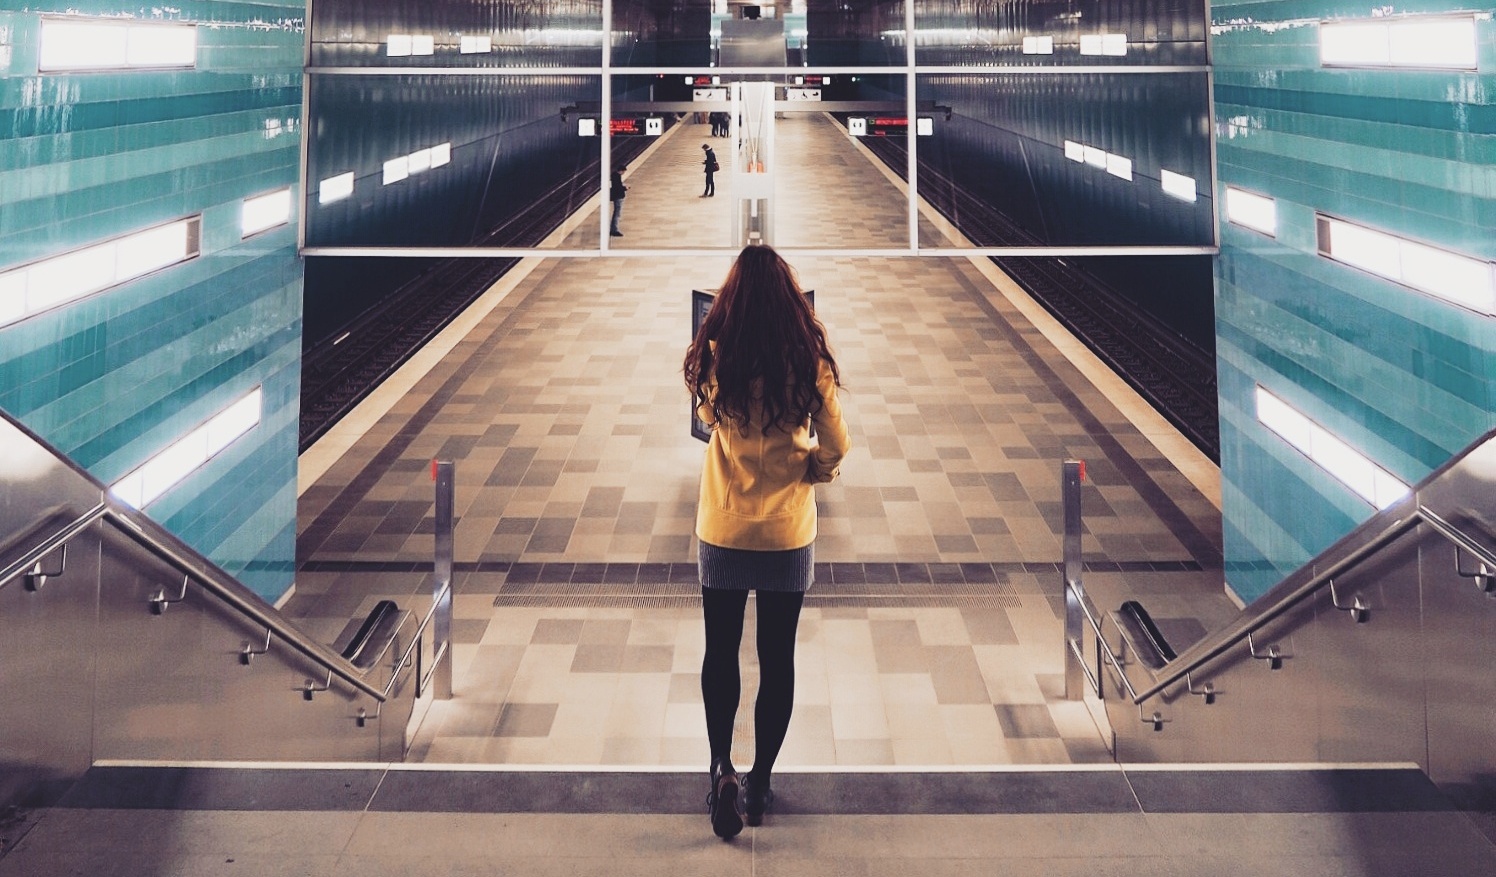
Symmetry
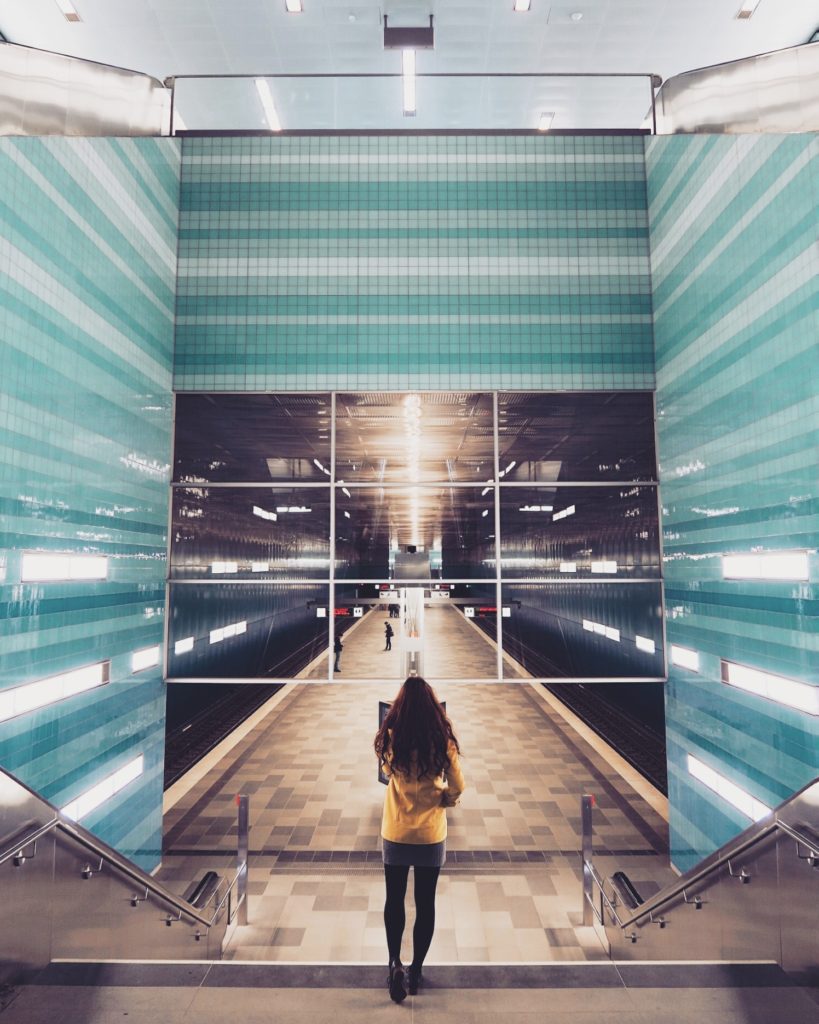
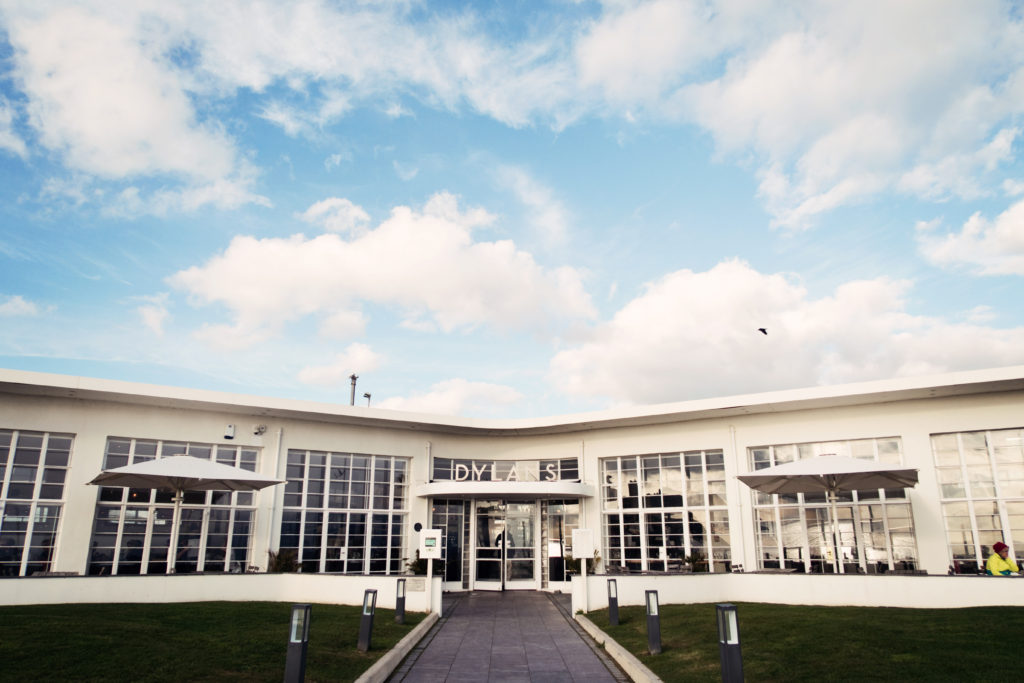
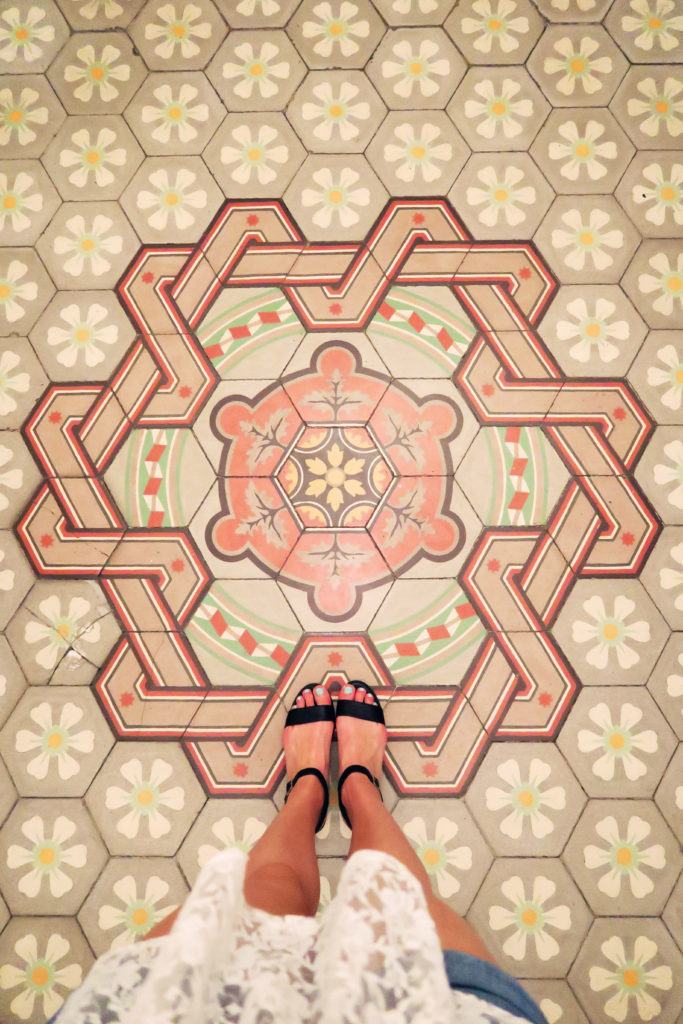
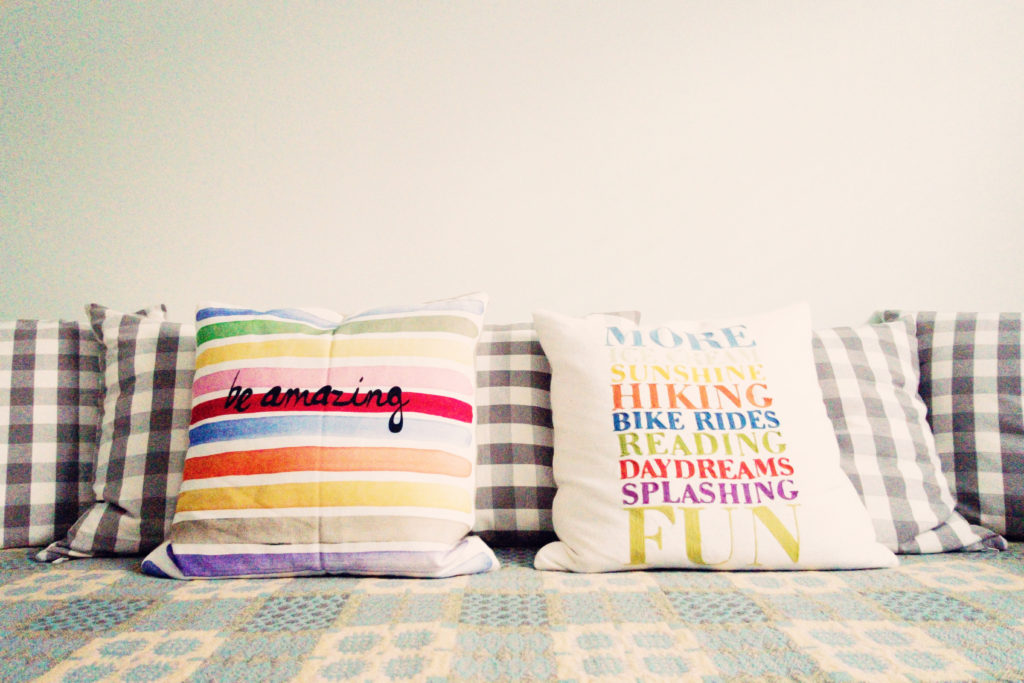
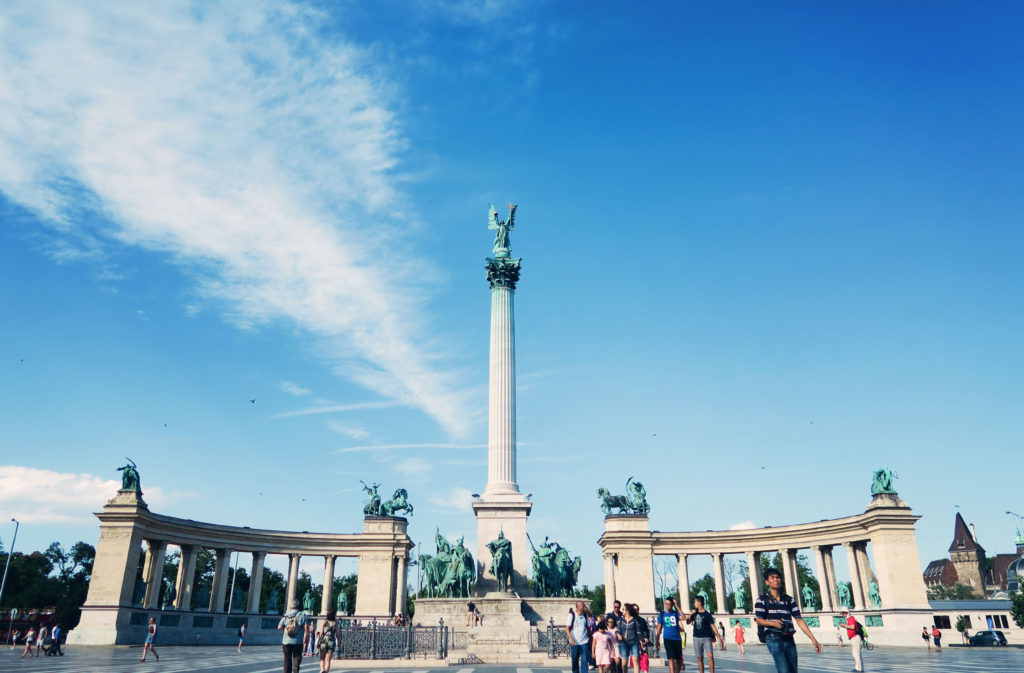
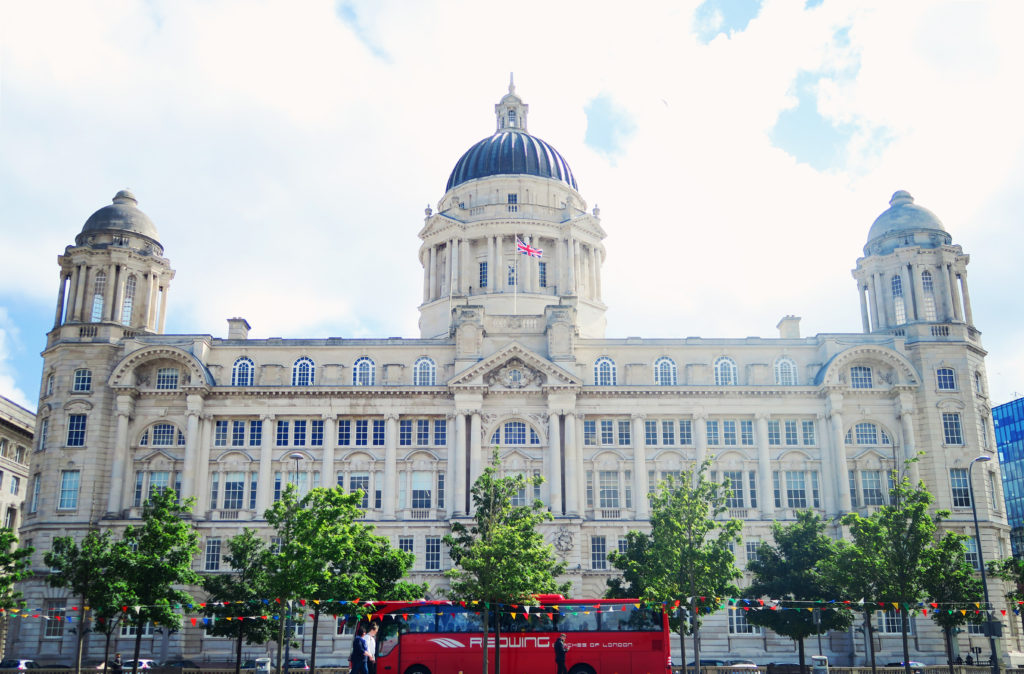
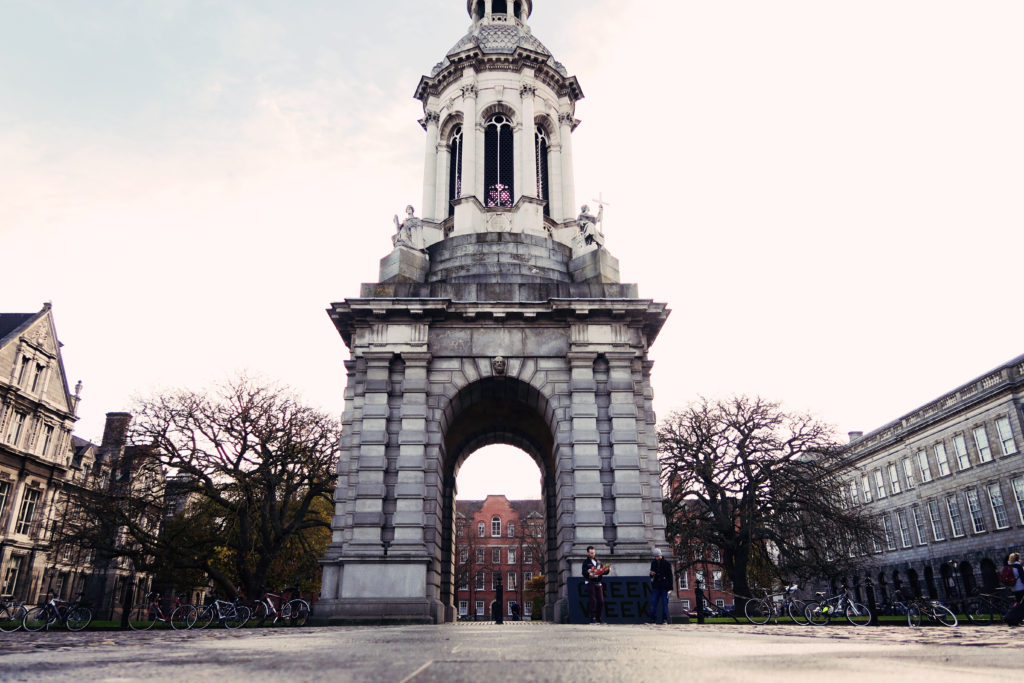
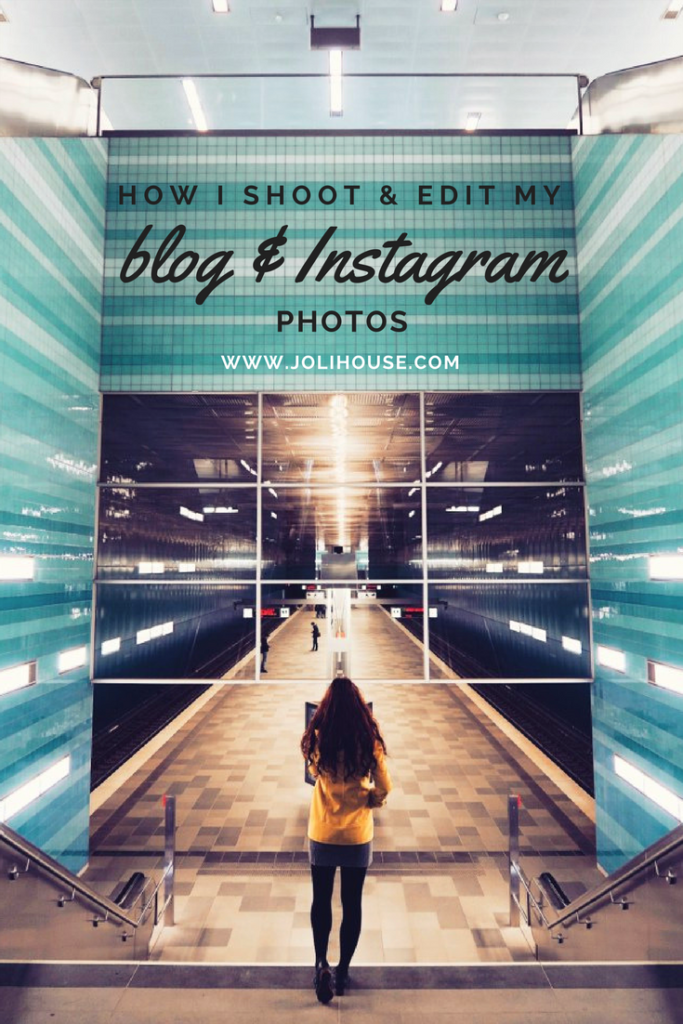
If a shot looks like it should be symmetrical ish, then I make sure it’s perfectly symmetrical/centred or it drives me mad.  Like, I actually figure out which paving stone is central and make sure I’m stood exactly there, and will wait for someone to move if they’re stood on said paving stone.  OK so maybe I’m a bit of a saddo… but still! It’s pleasing to the eye, in the same way as the rule of thirds is.
Getting down low
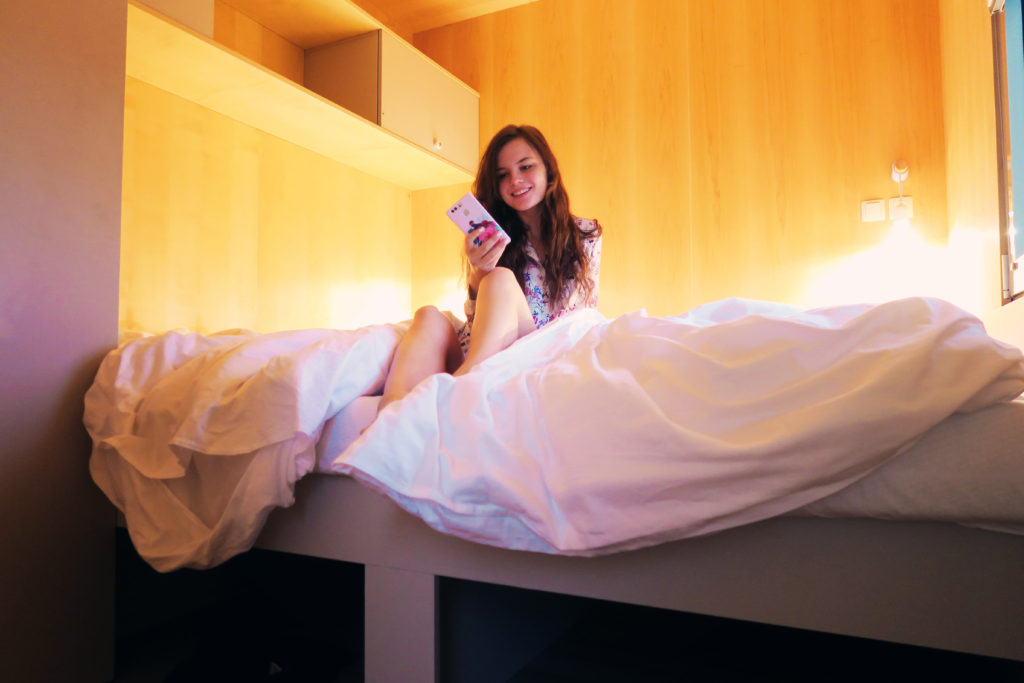
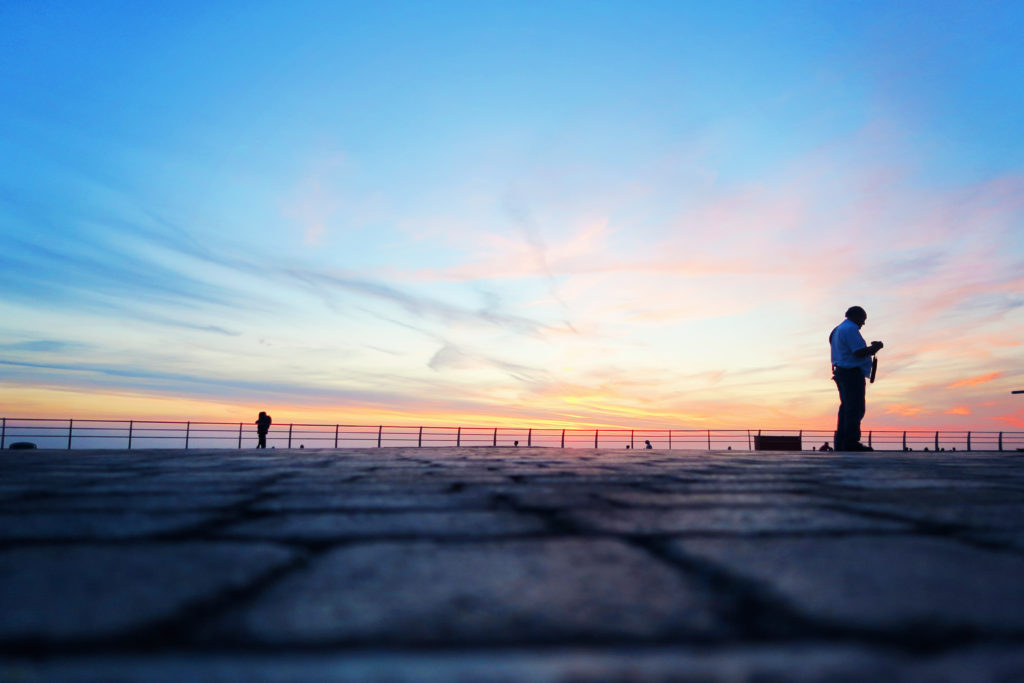
I legit grazed my knees (through tights!!!) in Hamburg last week by assuming what I call the ‘photographer squat’ position to take photos from low to the ground. Â The angles are so much more impressive than from face height, even if the final image doesn’t obviously look like it was taken from below.
Shoot RAW
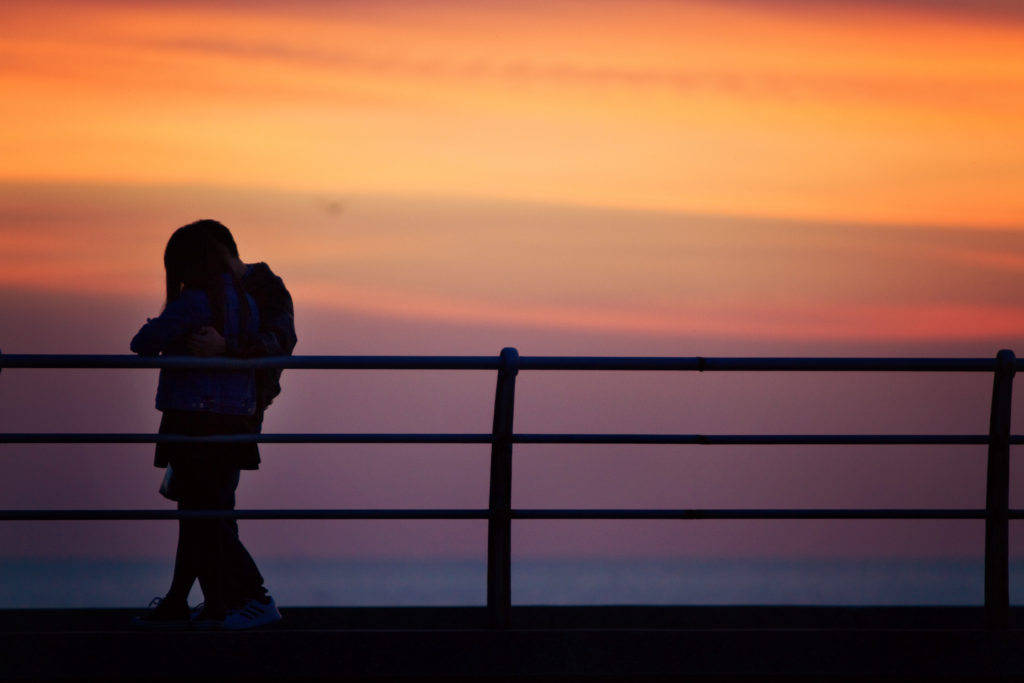
Always always always! Unless I’m running short on space on my G7X which I also use to film vlogs, in which case I have to make do with JPEGs. But I find RAW is an absolute godsend to be able to effectively change your camera settings afterwards.  My phone camera also shoots RAW which you can edit with Snapseed on the go, so that’s super helpful.  My main tweak is usually the white balance if a photo has come out bluer or more yellow than I’d like for some reason.  I find that if you have lots of photos taken in different settings, then maintaining a consistent temperature (white balance) throughout them helps with consistency.  RAW files are also great for when your metering has gone out of whack and you’ve ended up with a blown out bright photograph and can ‘save’ it and bring the detail back.  Very helpful when your face looks like a ghost. In this sunset photo of a couple of strangers, I used Adobe Camera RAW to lift the shadows so you could make out the detail on their jackets and shoes, as in the completely silhouetted version you couldn’t tell there were two people. It looked like Quasimodo with 3 legs tbh, so being able to drag the detail back in RAW saved the day!
Backlighting
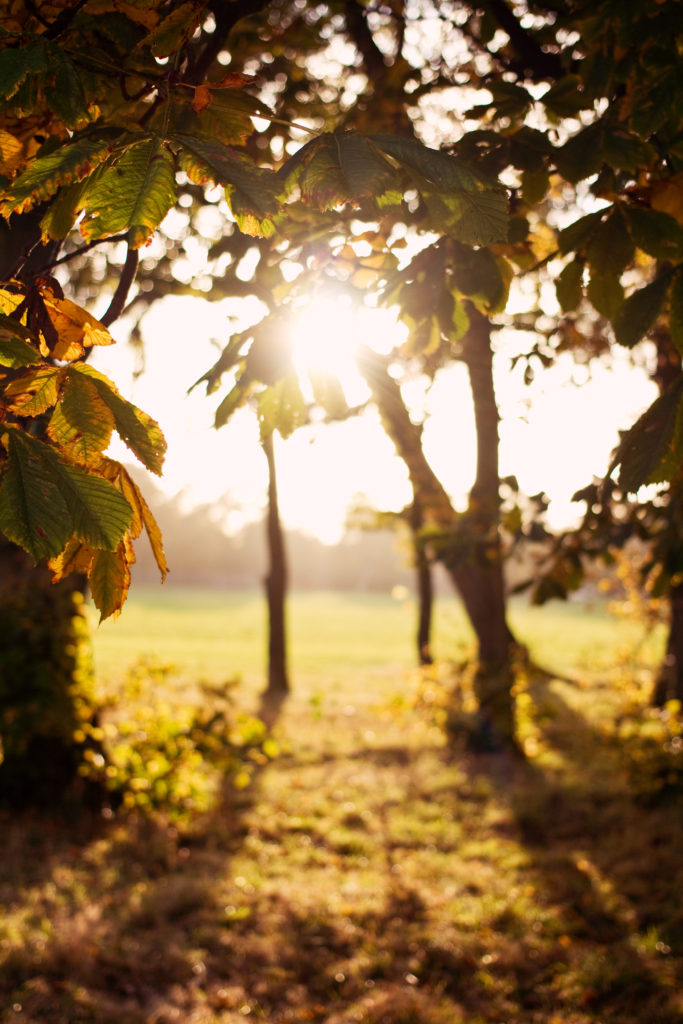
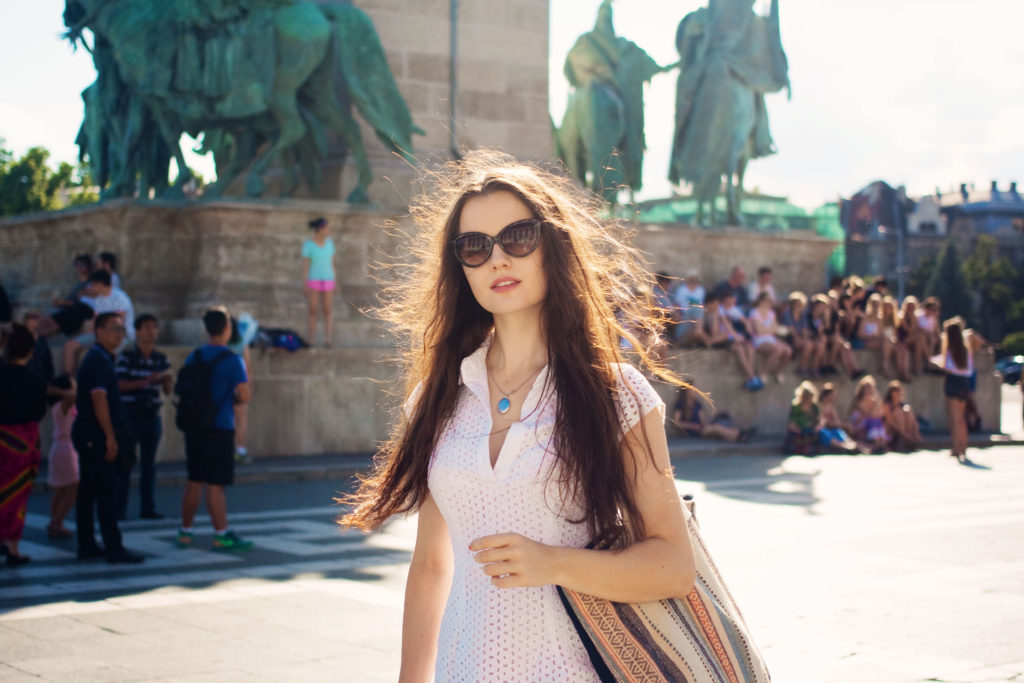
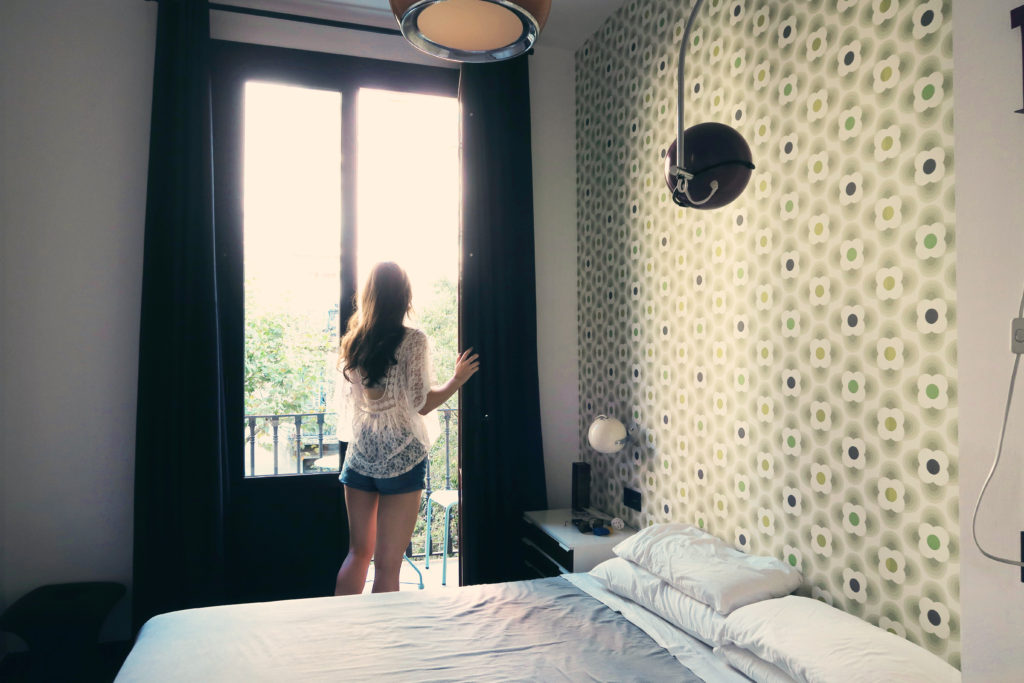
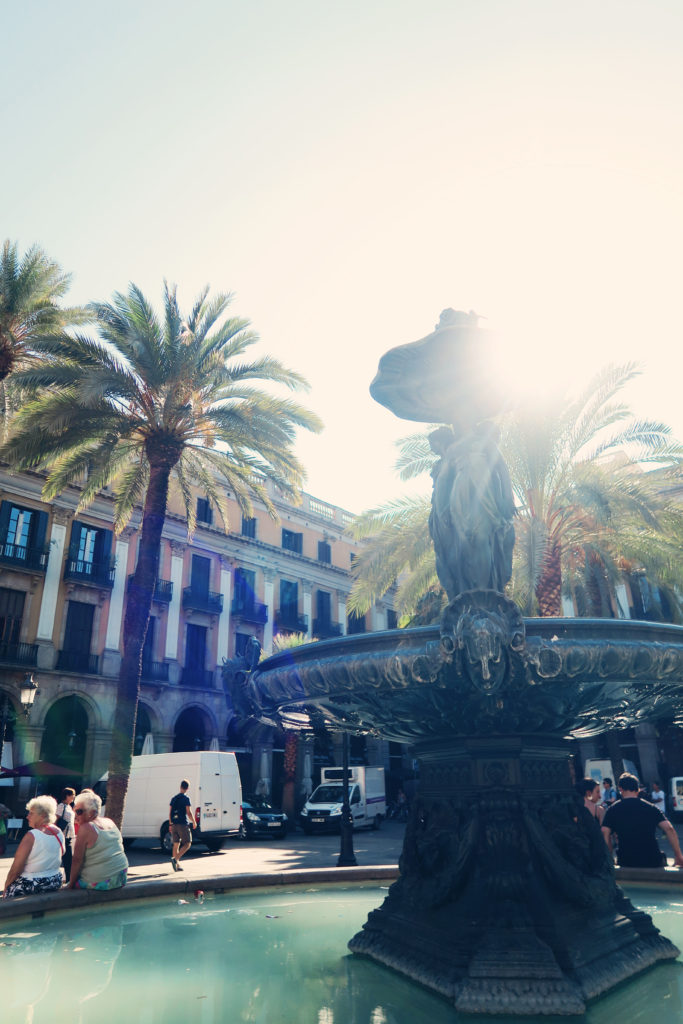
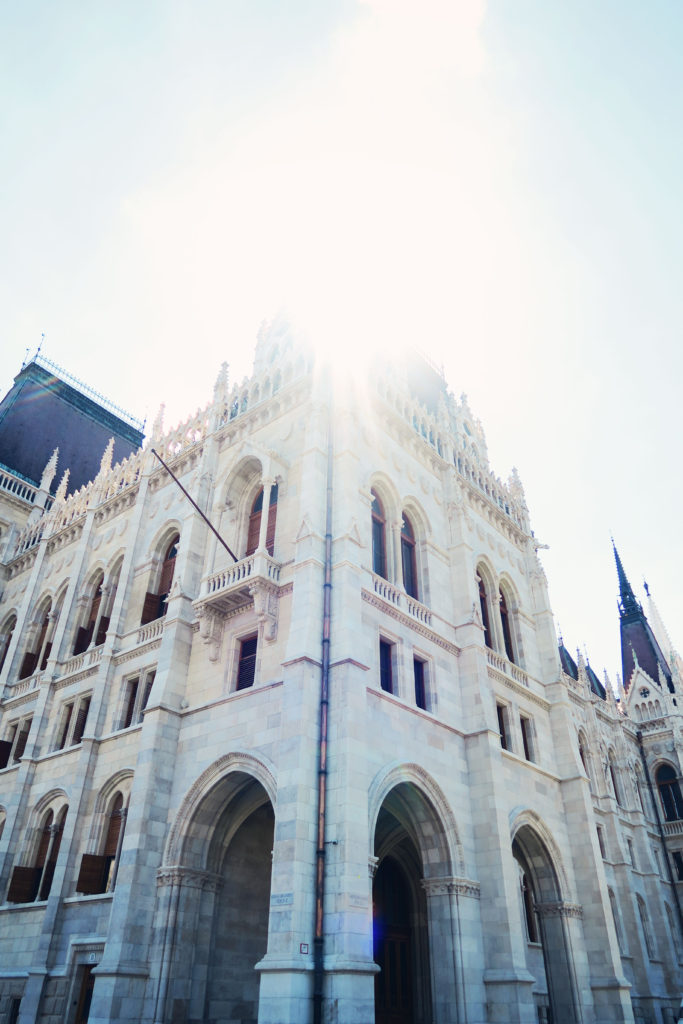
Oh I do love a good backlit shot.  So dreamy!  I usually make sure I’m on spot metering rather than evaluative otherwise the camera likes to take silhouettes, which sometimes is what I want, but I love the soft glowy look of backlit portraits too.  Probably gonna blind myself shooting into the sun one of these days!
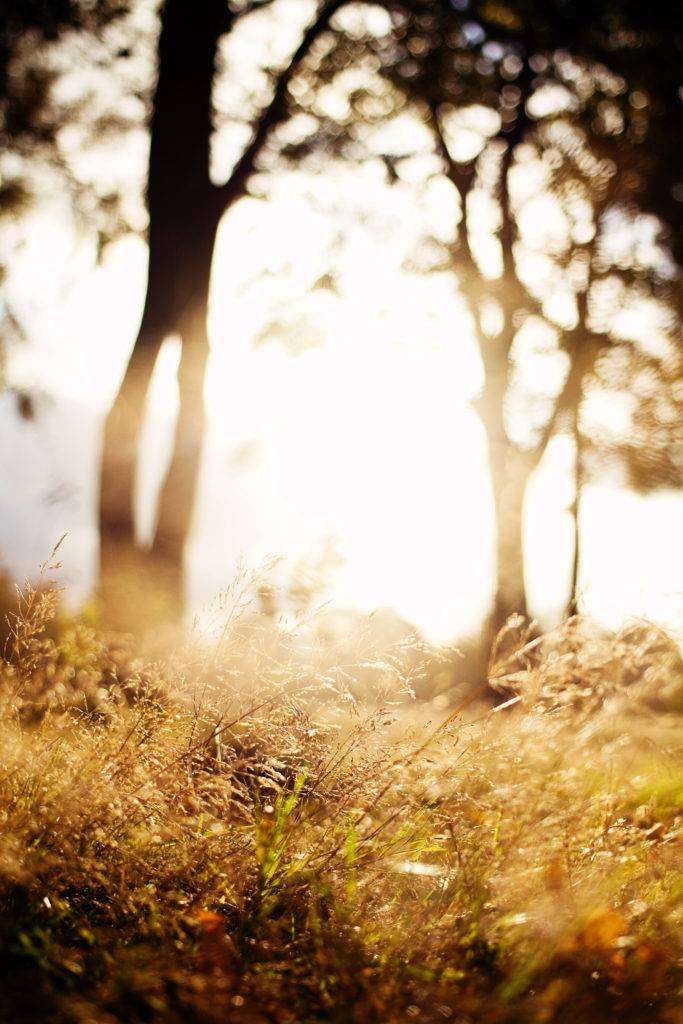
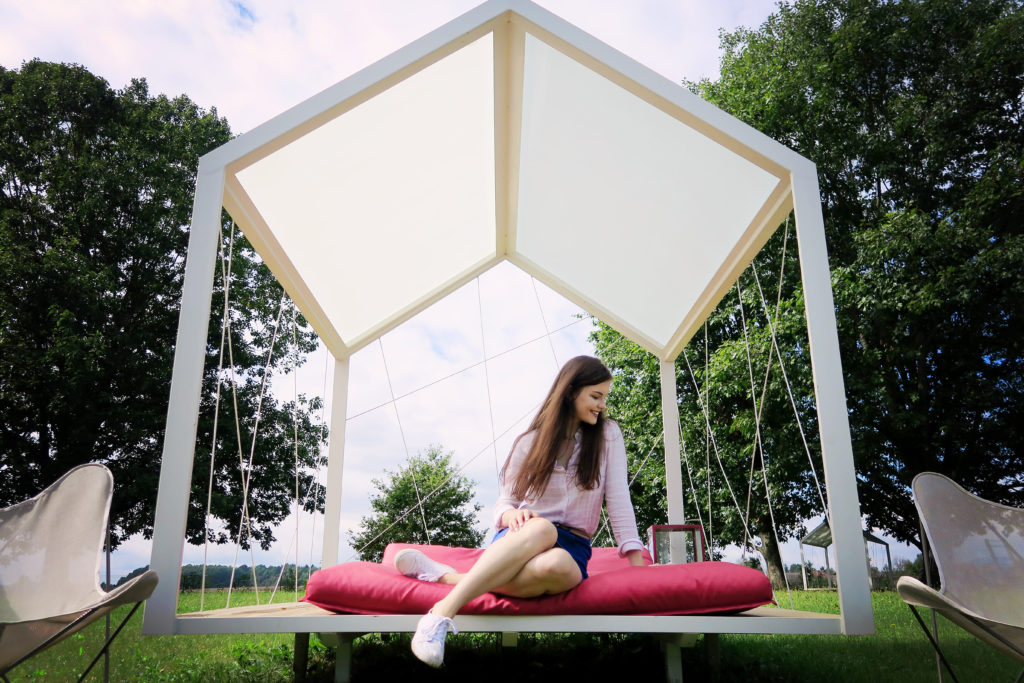
Blurred foregrounds / Shooting through things
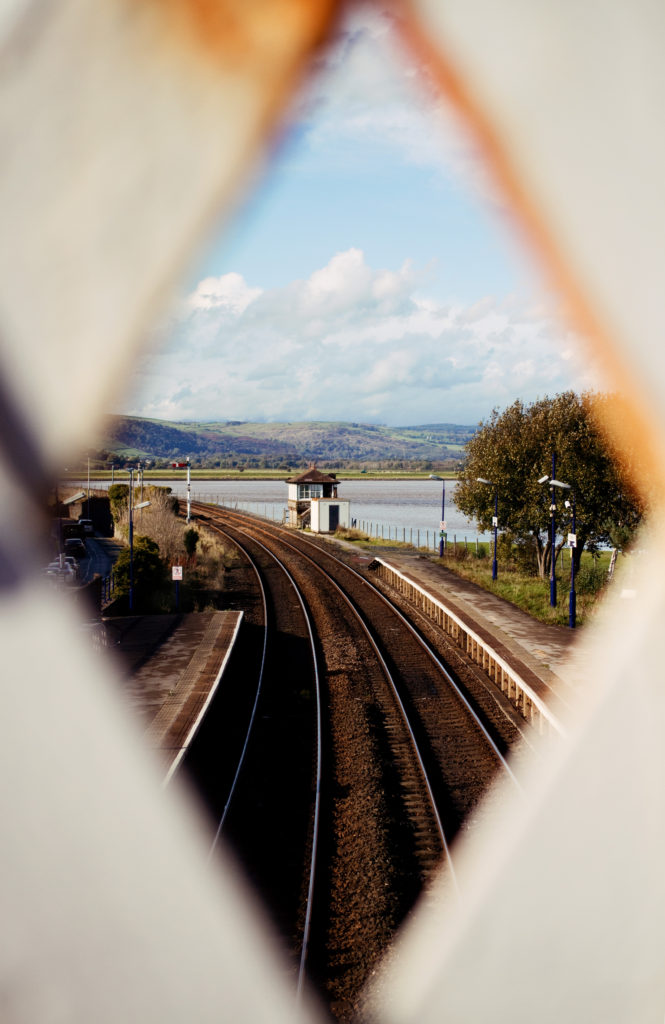
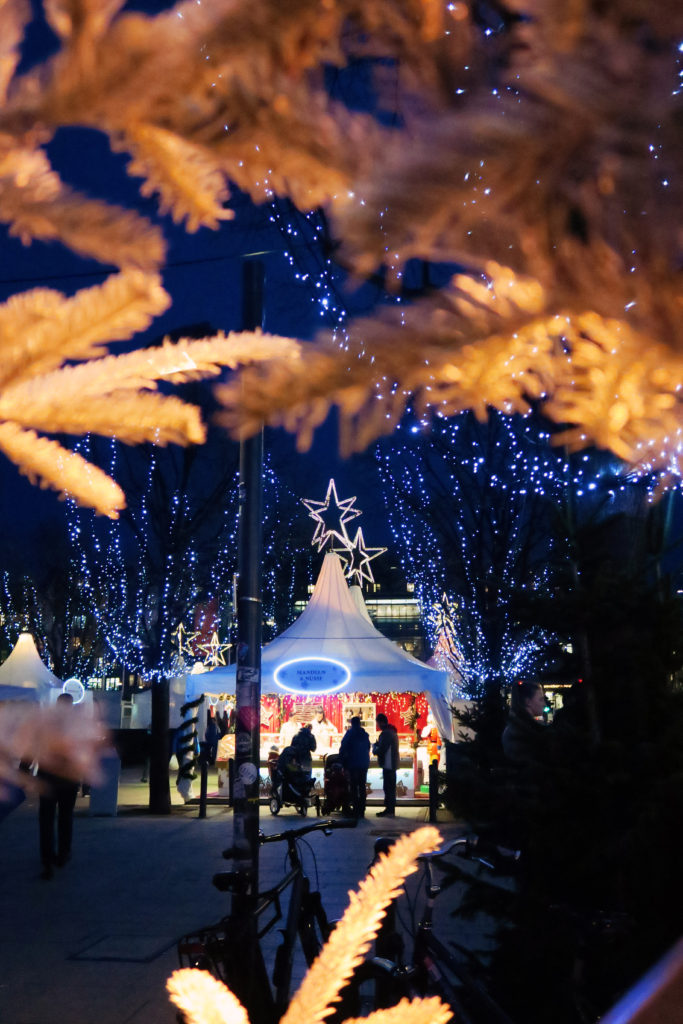
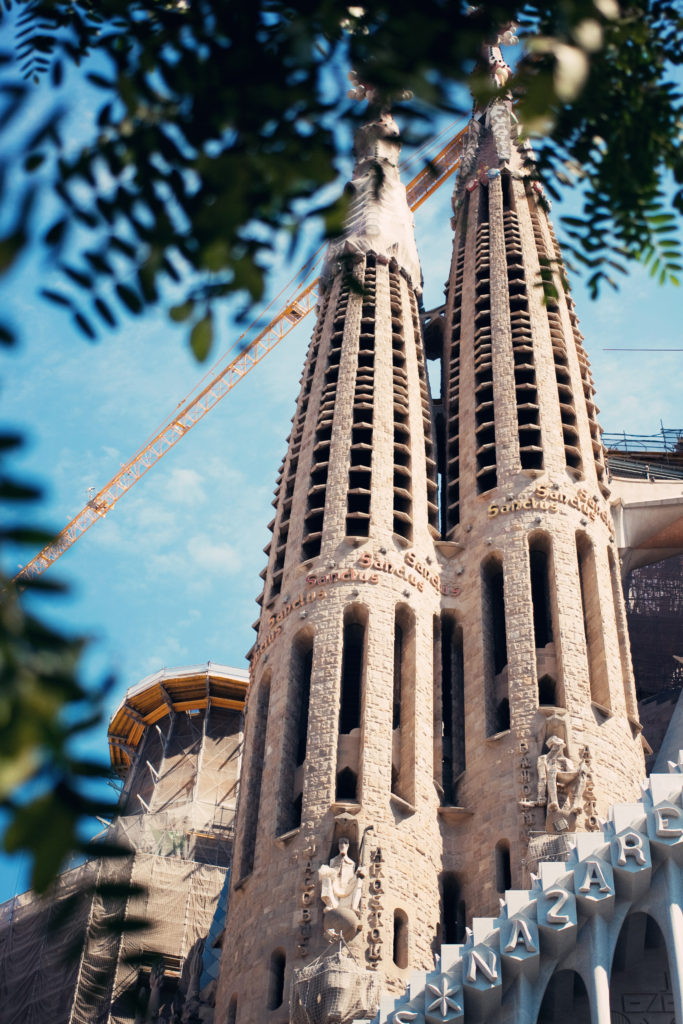
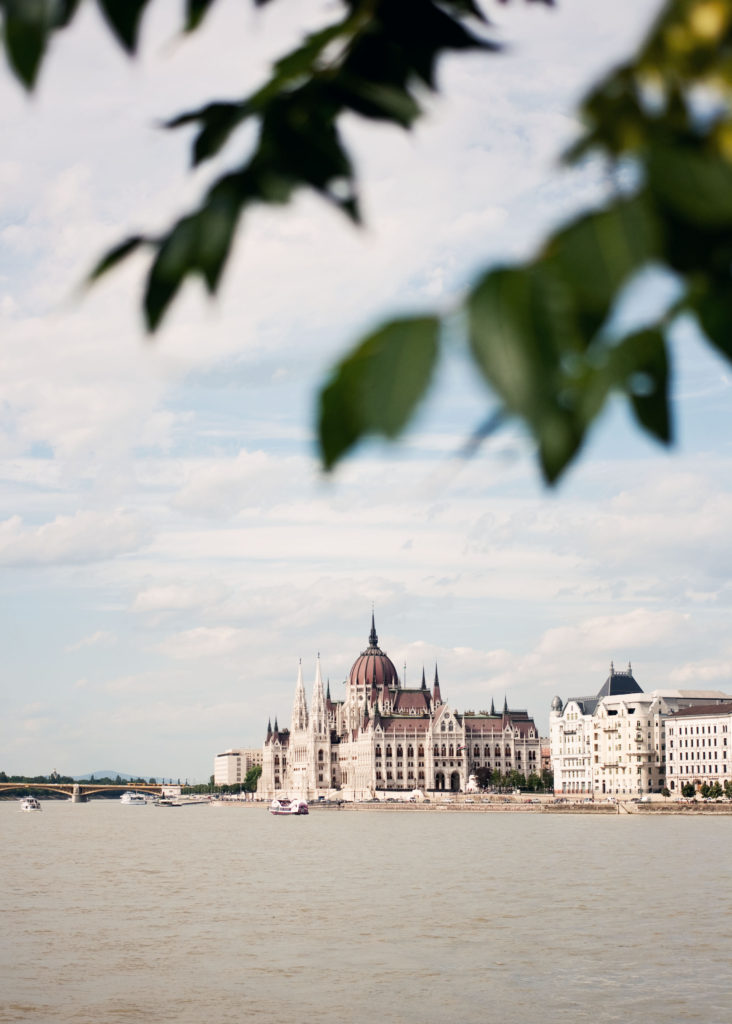
This one’s one of my favourites to play around with. :) With a wide aperture (I’m usually f1.8 on my G7X, f2.8 on my SLR) you can get some decent foreground blur which frames objects and just adds a little bit of interest. Perks up what could otherwise be a pretty boring shot, so I’m always on the lookout for natural ‘frames’ to work with.
Instagram specific
Because if I’m nosy and find it weirdly interesting to see how other people edit their photos, then I’m guessing some of you are too! I’ll start off by saying that I only have a loose-ish theme that changes pretty often because a fixed one just wouldn’t work with my life and I wouldn’t want to rule out pictures because they didn’t ‘fit’. If you’d like advice on creating a perfect Instagram theme though for you though, I’m just gonna point you in the direction of Katy’s post.
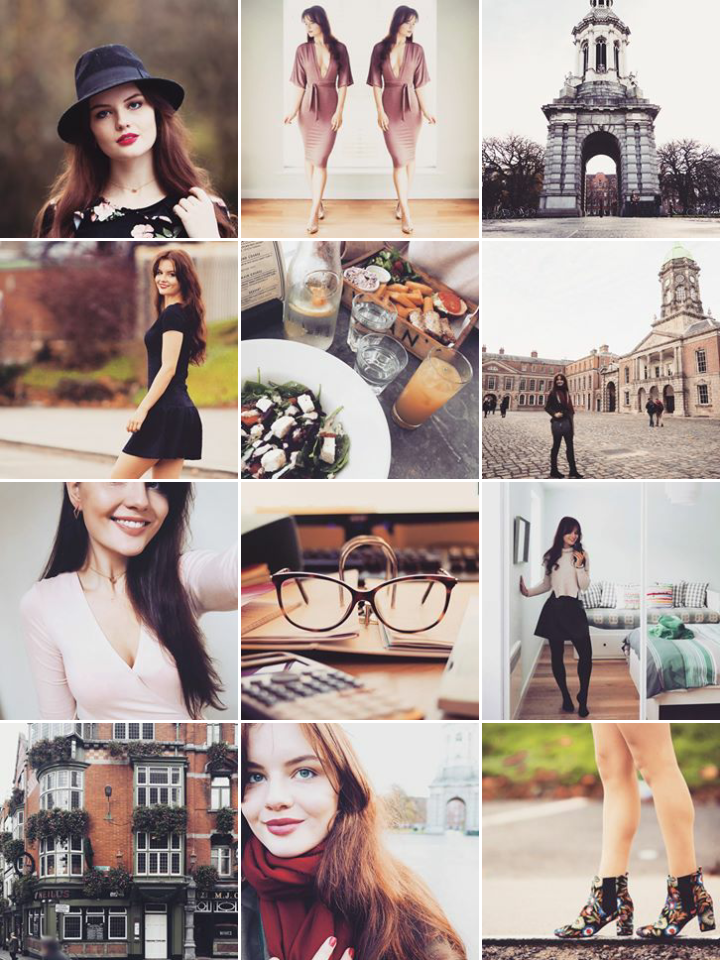
So, for most photos (other than SLR pics, which I edit on my laptop) I use VSCOcam. Because duhhh. Feel like I don’t even need to say that one, it’s just a given! I think everyone has their own little ‘formula’ though. And now I’m think this is all just a bit ridiculous, but let’s roll with it! I always use the A5 filter turned down a bit (I like how it makes the blacks more navy but doesn’t make your face blue – yuck), rotate/adjust perspective if it doesn’t fit aforementioned pickiness about angles… warmth up a notch… sharpen a tad if necessary… saturation a teensy boost (sometimes), and that’s about it. I then use the Aden filter on Insta which is a nice neutral one (I got bored of all bright bright bright a few months ago), sometimes turn down the shadows a lil’ bit, and if the pic looks like it needs a kick then I run a hint of ‘lux’.
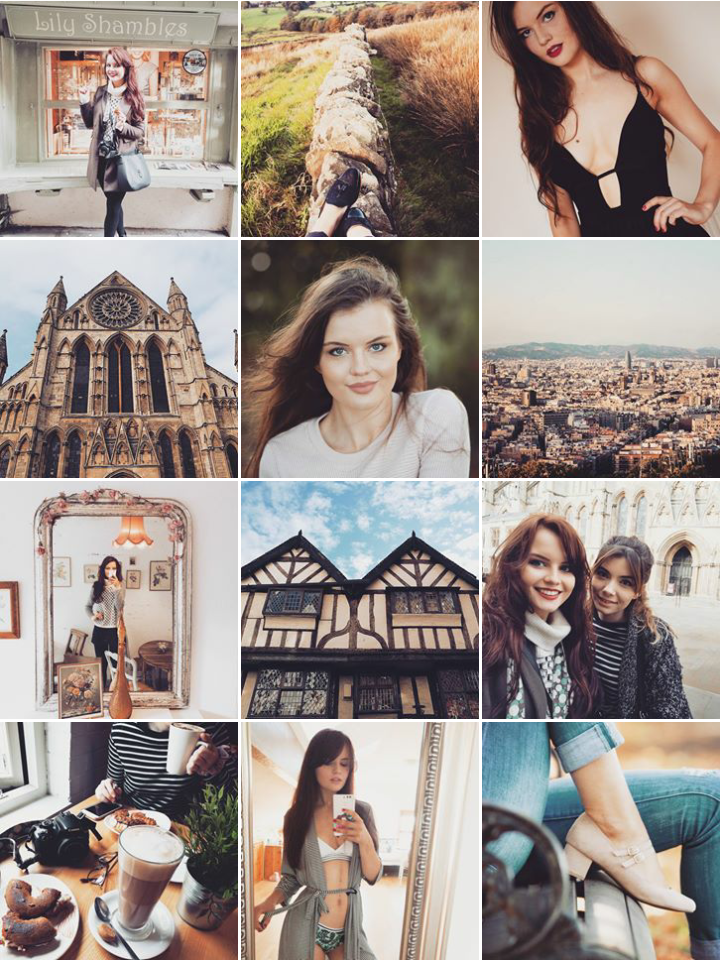
I occasionally use the Snapseed brush tool to brighten backgrounds, but can truthfully say I’ve never even downloaded an app like Facetune to edit my features, so there’s no smoothing or stretching going on here. Finding the best light and angle yes, editing, no! Another thing I *generally* do is post portrait rather than landscape or square photos because they come up bigger on a phone screen. As for the combination of photos, I try to keep it pretty mixed and not post too many ‘person’ or landscape photos in a row, so hopefully I don’t put people off by posting too much of any one thing. Totally goes against the whole theme idea but oh well.
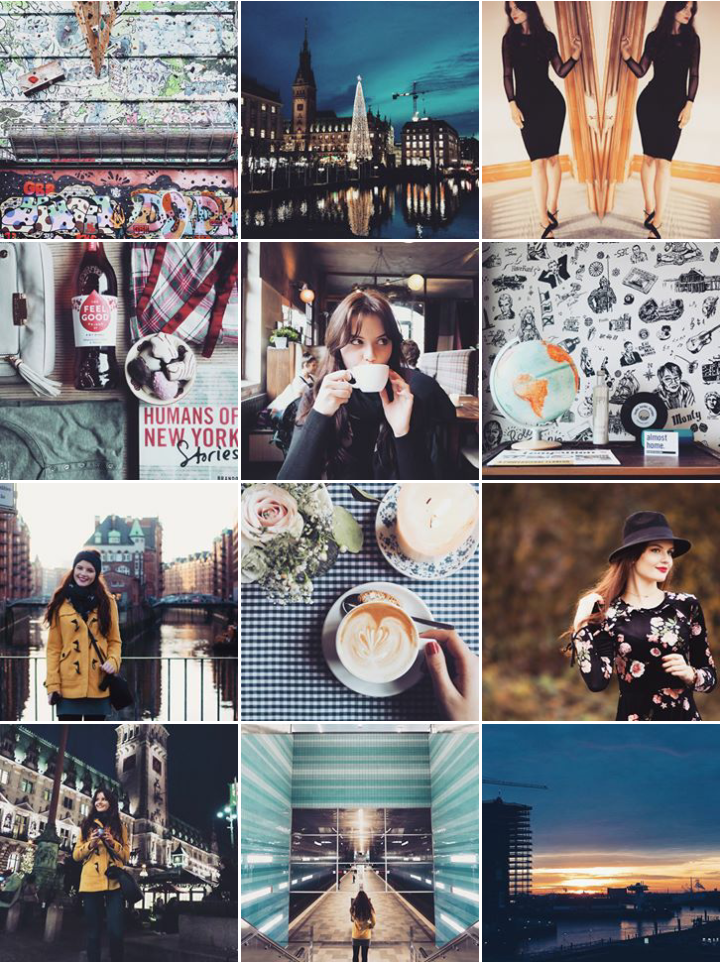
Oh and as for what I shoot with, I generally use a Canon G7x or Huawei P9 phone camera when I’m out and about at home, plus a Canon 400D with 40mm f2.8 pancake lens when I’m on my travels. Flatlays are almost always with my G7X because flipscreen <3 <3 <3 I don’t tend to carry my SLR around day to day, but I alternate between 3 cameras all day when I’m on trips and yep, it’s a bit of a faf. I also use my mum’s Canon 7D with 60mm macro lens for taking photos at home, and my outfit shots are on a Canon 7D usually with a 70-200mm f2.8 lens.  I’m well aware that I’m very lucky to have access to all this kit!
Hopefully this post’s been remotely useful/interesting/nosyness satisfying. I’m currently in Tallinn and planning to shoot lots today, so watch this space!
lily kate x
follow me on bloglovin | twitter | instagram | youtube | facebook | linkedIn | email me

7 Comments
CarolineJG
4th December 2016 at 1:58 pmThanks for this, very interesting. Your pictures are always inspiring (even when you were super young). I do have a question: who’s taking pictures of you? Or how do you take them? I’m using a tripod and a remote control, but I’m really not satisfied. Thanks
Demilade
4th December 2016 at 6:07 pmWow your photo taking skills are A1! Thank you for sharing, I found these tips very helpful. I’m only just getting into photography.xx
cocobellablog.com
Lucy
10th December 2016 at 2:39 pmGreat tips! Really interesting about the horizontal/vertical lines being dead straight and symmetry etc., they’re little things that really make a lot of difference to a photo. Also like your tips for shooting from low down and using blurred foregrounds, I might have to steal these – although I need to actually get a camera first, my one has just died :'( xxx
Lucy @ La Lingua | Life, Travel, Italy
Lily Kate France
13th December 2016 at 7:22 pmThanks Lucy! I’m so picky about those little things, they make a photo look so much better in my opinion! Feel free to steal them, I’d love to see your photos!
Lauren
28th February 2017 at 2:04 pmI love this post! Definitely interesting to see how people edit their photos, would you be surprised if I said I barely edited mine? I think I need to get some decent photo editing software though and not just picmonkey. I might take the straight line thing on board though, I’ll have to see if it makes a difference.
lily kate
3rd March 2017 at 12:01 pmThanks Lauren! Barely editing is great, it’s fab when you’re happy with them straight out of camera! Once you start looking for straight lines you’ll become obsessed with it, slightly wonky images drive me mad now haha 😛
Leeds with University Rooms | A short city trip with budget accommodation
29th March 2018 at 9:36 am[…] city. Â And sorry Manchester, but Leeds is far prettier. Â Yes to all the arcades that satisfy my love for leading lines. Â Our first afternoon basically consisted of dashing between the arcades in an effort to escape […]